1. Introduction
A site inspection is the first step toward a safe, compliant, and efficient EV charger installation. Suruhanjaya Tenaga (ST) guidelines and Tenaga Nasional Berhad (TNB) recommendations require that only registered electrical contractors perform wiring work and that installations be carefully planned. This article explains why an inspection is vital and what happens during the process.
2. Why a Site Inspection Matters
EV charging is a continuous load, operating at high current for extended periods. A site inspection ensures your electrical system can handle this demand without overheating or tripping. It also helps the installer choose the right charger model and protection devices for your home, preventing costly rework later.
3. Step-by-Step Process
Step 1 – Review the Distribution Board (DB)
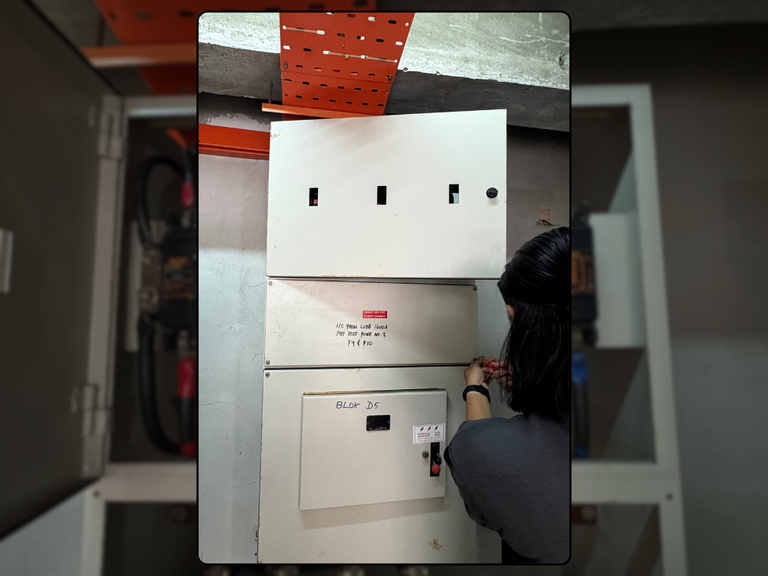
The technician examines your distribution board (DB) for spare breaker slots, the condition of existing breakers, and how current loads are distributed. They look for signs of wear, improper connections, or poor earthing that could compromise safety.
Step 2 – Assess Incoming Supply and Household Load
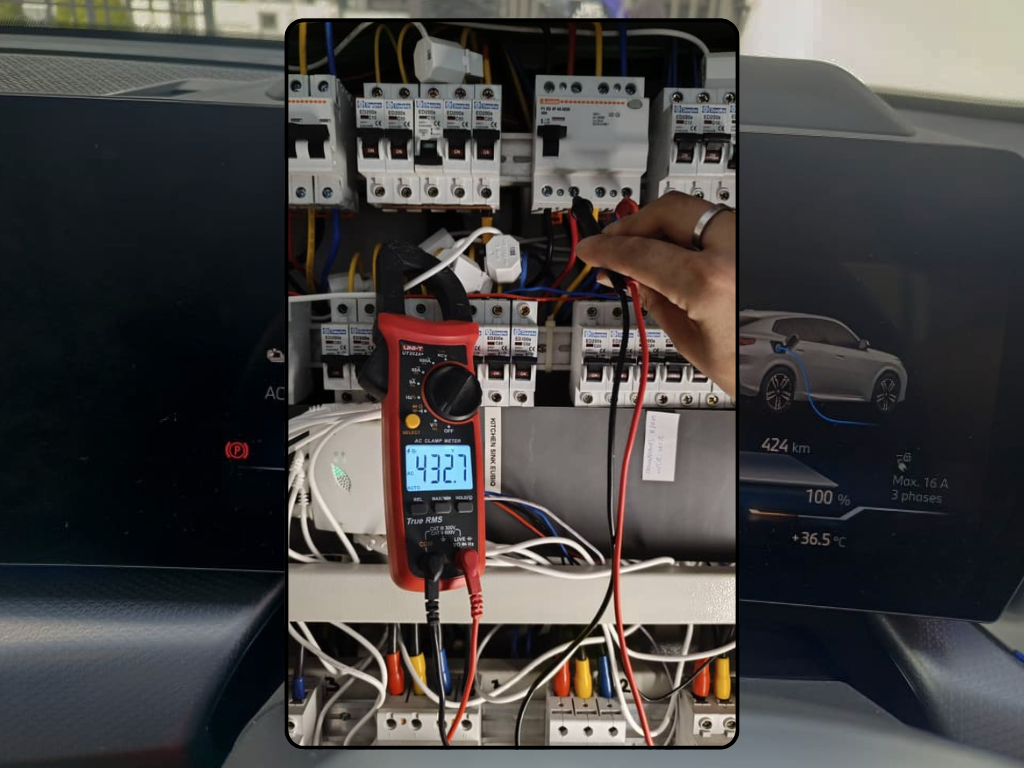
Next, they check the incoming electrical capacity—examining the main fuse rating, typical household usage, and high-load appliances like air conditioners and water heaters. Most Malaysian homes use single-phase 230 V supply, which supports up to 10 kW total load; larger or multiple EV chargers may require three-phase supply. Smart chargers with dynamic load balancing may be recommended to adapt charging current to your household load.
Step 3 – Identify Charger Location
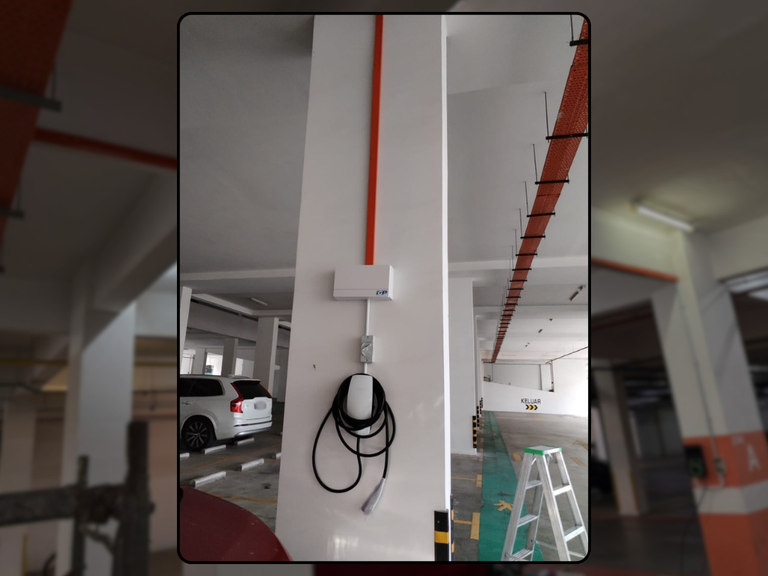
The technician helps select the best mounting location, considering vehicle parking, cable reach, environmental exposure, and structural supports. They ensure the charger is protected from rain and sunlight and that there’s adequate space for the charging cable.
Step 4 – Plan the Cable Route
Cabling distance and routing are critical for safety and aesthetics. The technician measures the distance from the DB to the charger and selects a route—concealed in walls or surface-mounted—while avoiding structural obstacles and ensuring neat installation. Longer distances may require thicker cables or conduit.
Step 5 – Confirm Protection Devices
The inspection verifies the need for a dedicated final circuit, including properly sized cables, an overcurrent device (MCB), a residual current device (RCCB or RCBO), and an isolator switch. Surge protection and earthing quality are also assessed.
Step 6 – Proposal and Next Steps
After the inspection, you receive a written proposal outlining the recommended charger (7 kW or 22 kW), necessary upgrades, estimated timeline, and cost. IGP rebates the inspection fee if you proceed with installation, highlighting our commitment to transparency and customer care.
4. Importance of Early Inspection
Scheduling an inspection early helps avoid installation delays, ensures proper coordination with TNB if supply upgrades are needed, and allows you to plan for any structural or aesthetic considerations. It also reassures you that your home’s electrical infrastructure will support your EV charger safely.
5. Conclusion
A site inspection is not just a formality; it is a critical step in ensuring safe, compliant EV charger installation. By reviewing your DB, assessing supply and load, selecting the right location, planning cable routes and confirming protection devices, IGP tailors your installation to your home’s specific conditions. Let us provide a professional inspection and proposal so you can charge your EV confidently and safely.