1. Introduction
Installing an EV charger in a landed property involves more than bolting a charger to the wall. You need to assess your home’s electrical capacity, choose a compliant charger, and work with a registered contractor. Here’s a step-by-step guide tailored to Malaysian homeowners.
2. Step 1 – Consult a Qualified Installer
Tenaga Nasional Berhad (TNB) advises homeowners to engage qualified professionals and use only ST-registered contractors. DIY installations or unlicensed contractors may result in unsafe wiring and void your insurance.
3. Step 2 – Check Electrical Capacity
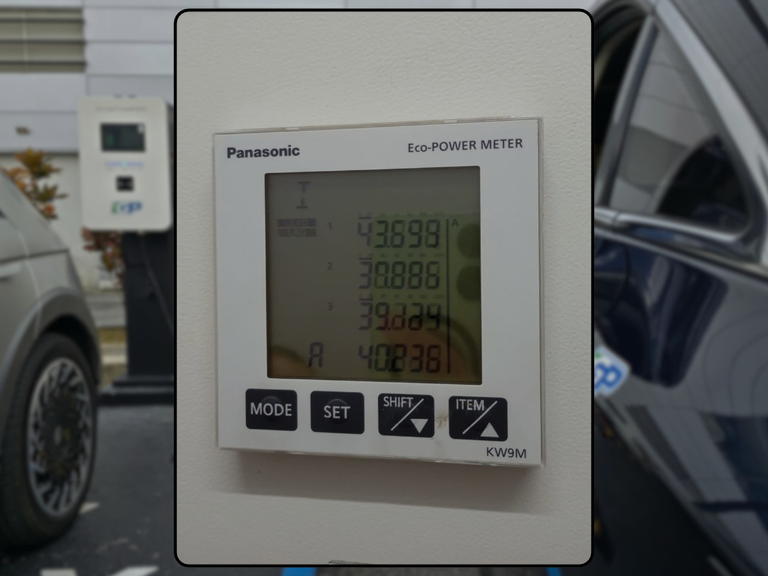
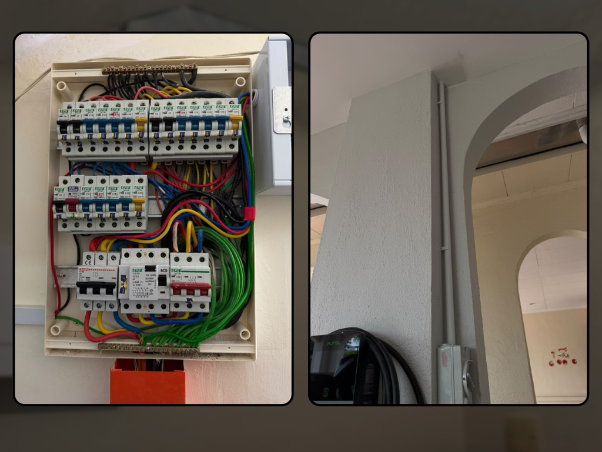
Before installation, have a professional inspect your wiring and distribution board (DB). They will assess whether your home is single-phase or three-phase and calculate the total load capacity. Single-phase supply supports loads up to 10 kW; three-phase supplies loads above 10 kW. This assessment determines if your home can handle a 7 kW charger or if an upgrade is needed.
4. Step 3 – Choose the Right Charger
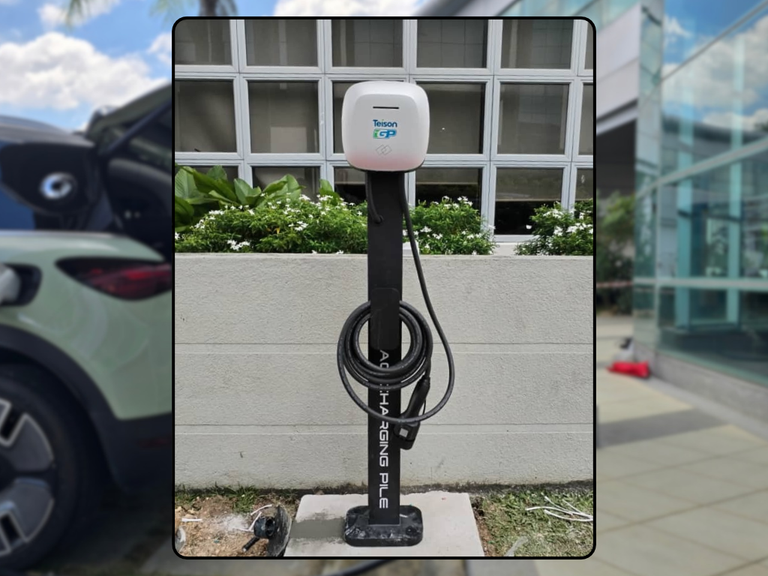
Select an EV charger that matches your supply (single-phase 7 kW or three-phase 22 kW) and is approved by ST. Ensure it has 6 mA DC leakage protection so a Type A RCCB is sufficient. IGP’s Smart Mini Home Charger offers 7 kW and 22 kW options with load balancing.
5. Step 4 – Plan the Installation Location
Identify a suitable location near your parking area with easy access to the distribution board. Consider cable routing—surface conduit vs concealed—and environmental factors. Your installer will plan a cable run up to 10 m using 6 mm² or 10 mm² copper cable, depending on distance.
6. Step 5 – Install a Dedicated Circuit
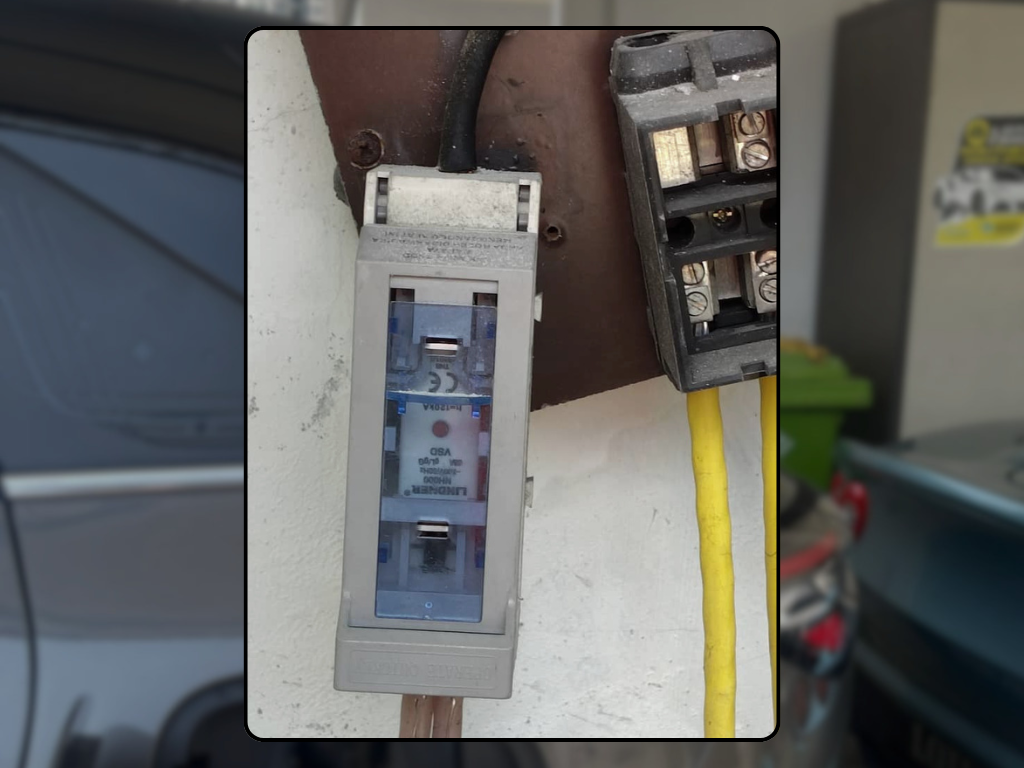
The EV charger must be connected to its own circuit with appropriate cable size and protection. TNB guidelines specify a dedicated circuit with a cable sized appropriately and a 30 mA RCD. IGP’s installation packages include a dedicated distribution box, MCB, RCCB/RCBO, and isolator switch to meet these requirements.
7. Step 6 – Installation and Commissioning
The contractor will install the charger, connect it to the dedicated circuit, and test the system. After installation, you should receive a test and commissioning report as recommended by TNB. This report confirms safety and compliance.
8. Step 7 – Regular Maintenance and Safety Checks
Follow TNB’s safety tips: perform regular inspections, avoid extension cords or 13 A sockets, and keep a Class C fire extinguisher nearby. Schedule periodic maintenance to ensure all connections and protection devices remain in good condition.
Conclusion
A landed home offers flexibility, but you still need to follow proper installation steps. By consulting a qualified installer, assessing your electrical capacity, choosing an approved charger, installing a dedicated circuit, and obtaining a test report, you can enjoy safe and reliable home charging. IGP’s professional process covers every step to ensure compliance and peace of mind.